Making This Website
While searching for a job fresh out of college in 2020, I learned just enough to hack together a basic website using React and many tutorials to make it look acceptable. At the time, it was a good project for me to learn some very basic web dev and build something to help with my job search. When I went to learn how to deploy it (and ideally not pay for hosting), I ended up porting the website over to Next.js and deployed it with the free tier of Netlifly.
That website sat around until four years later when I got the itch to explore web dev again. With a few years of professional IT and software development under my belt (though notable not web development), it felt like it was time to revisit a personal website.
Picking a Way to Build the New Website
I have generally disliked every foray into the land of HTML, CSS, JavaScript, and thousand competing frameworks that attempt to solve different problems with different approaches. From high school to progressing through a computer science undergraduate degree, something has never clicked. When approaching this new version of my site, I wanted to use something slightly above hand writing the site but still give myself a re-education in the world of web development.
After searching around to see what technologies existed, Astro caught my eye as an exciting framework that didn’t require as much JavaScript as React to get a website up and running; I found it wild how heavy even a basic website could become when a JavaScript DOM was driving page. After going through the tutorial, I decided to use it to make the website you see before you.
Creating an MVP-website
Okay, I need to confess something. I actually started this website about 4-5 times before getting to the current iteration. I went down many rabbit holes when it came to styling, additional frameworks, and modifying free templates. I even abandoned Astro a few times in the middle before ultimately coming back to it as my static site generator.
Some of those fruitless side quests:
- Trying build the entire website from raw HTML+CSS+JS and make it look as pretty as professional sites
- Googling “do I need a CSS framework” and “best CSS framework”
- Trying to learn 2-3 CSS frameworks before remembering I barely know CSS
- Learning Svelte without any particular reason to learn it
- Trying to shoe-horn in CSS from a cool template into my from-scratch website
- Scrapping the from scratch-website and trying to build on a fancy template
- Finding a new template I liked better and starting the process all over again
- Not quite liking the template and trying to modify it without understanding the other frameworks they used
I was unfocused and needed to narrow my scope. I decided to just go simple and ship an MVP, Minimum Viable Personal-website. I would define success as being able to go to SebastianSimmons.com and have something load. Once I had that, I could start working on advanced styling or whatever else I wanted to add.
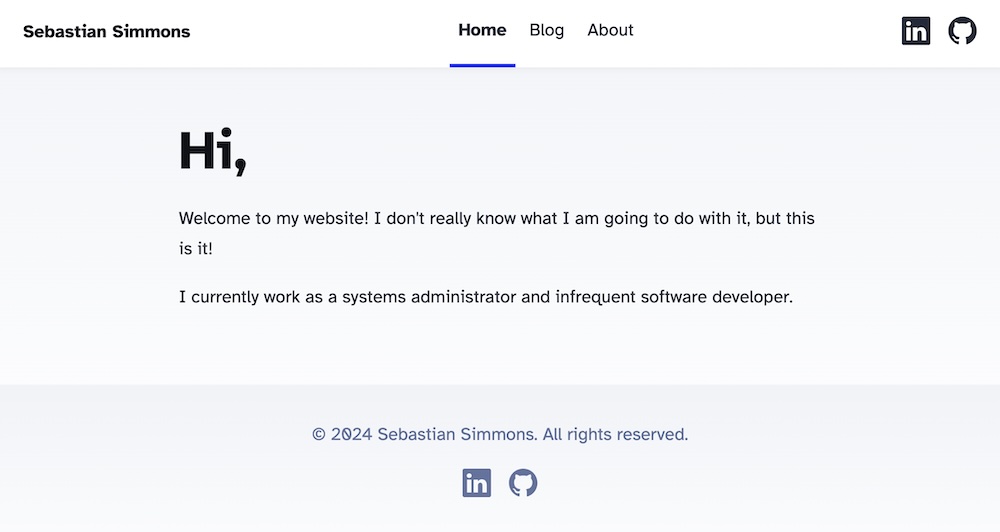
I went simple and used the built-in Astro blog template.
I modified the boilerplate to make it technically “my website”. It was time to deploy it and call my MVP goal a success.
Deploying to the World
With the barest of bones website built, the next step in project Minimum Viable Personal-website was to deploy it to the world.
I looked at Netlifly’s free tier, which the old site used, but I ultimately went with GitHub Pages since that process was even simpler. If I ever need to switch back to netflify or some other service, that would be pretty easy.
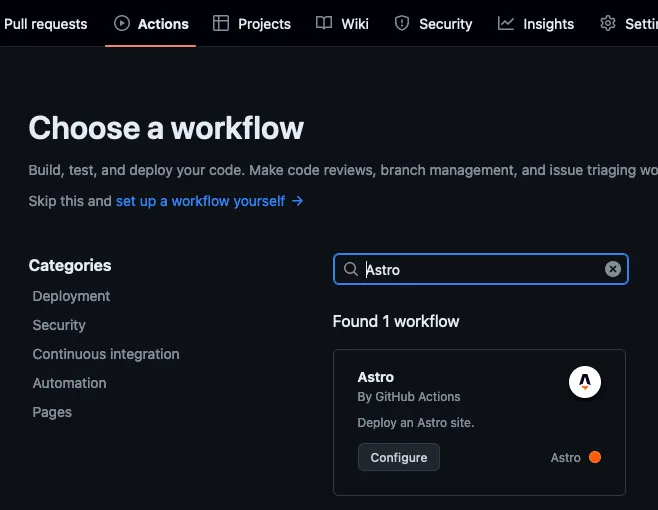
GitHub Actions already had a workflow for deploying an Astro site so I just switched the deploy method to that action.
All you have to do is set the Build and Deployment Source to GitHub Actions
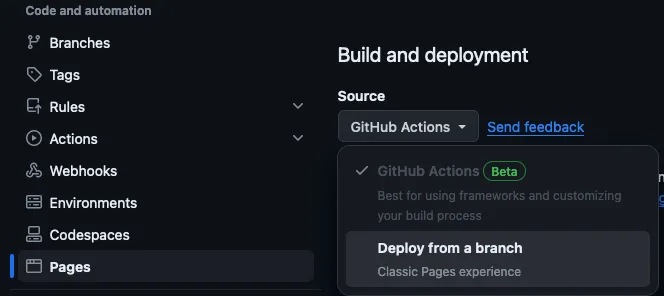
and then add the Astro workflow by GitHub pages to the repos actions.
After waiting a minute for the build to complete, https://sebastiansimmons.github.io/ was online!
Custom Domain
Adding my own domain was very easy. GitHub Pages documentation for setting a custom domain and updating your DNS records is very straightforward.
The longest part of the process is waiting for records to update. If you’ve ever tried to test out your custom email address, you know the struggle of this wait time.
It’s Online!
Wow, a personal website just for me! This counts as a successful Minimum Viable Personal-website.
Let’s Actually Customize It
This success lets me do what I actually want do to which is customize the site a little bit and learn a few things along the way.
I decided to two small features to the blog to wrap up the evening. First I reversed the default sorting so that the newest posts showed up first.
Draft Blog Posts
Next, I added a draft field in frontmatter of markdown blog posts. The Blog page hides all pages with draft == true. Simple and useful!
Future Date Publishing
The next feature I wanted to add was publishing pages based on the pubDate field. If pubDate is in the future, hide that post until it’s the present.
This was another simple frontmatter filter, but that’s enough for me to feel like I technically customized the website to fit my needs.
I don’t even have a use for this yet.
Small CSS Changes
I did some simple things like push the footer to the bottom and fudge a few values in the CSS to my liking.
It’s (a)Live!
A personal website made over the course of an evening. That’s pretty cool.
Most of my programming experience is with Python Qt apps, digital cameras, and image manipulation so I am happy that anything works at all. I am still a novice in the web dev world but this felt like a nice step toward learning more.